Field Lesson #001
Why This Fillet-Weld Gauge Reading Needed a Second Look
A fillet-weld gauge reading must be interpreted with the joint geometry, gauge placement, and applicable acceptance requirements. An apparent mismatch calls for investigation; it does not, by itself, establish acceptance or rejection.
This example demonstrates why understanding joint geometry and weld profile is just as important as understanding how to use the gauge itself.
The Situation
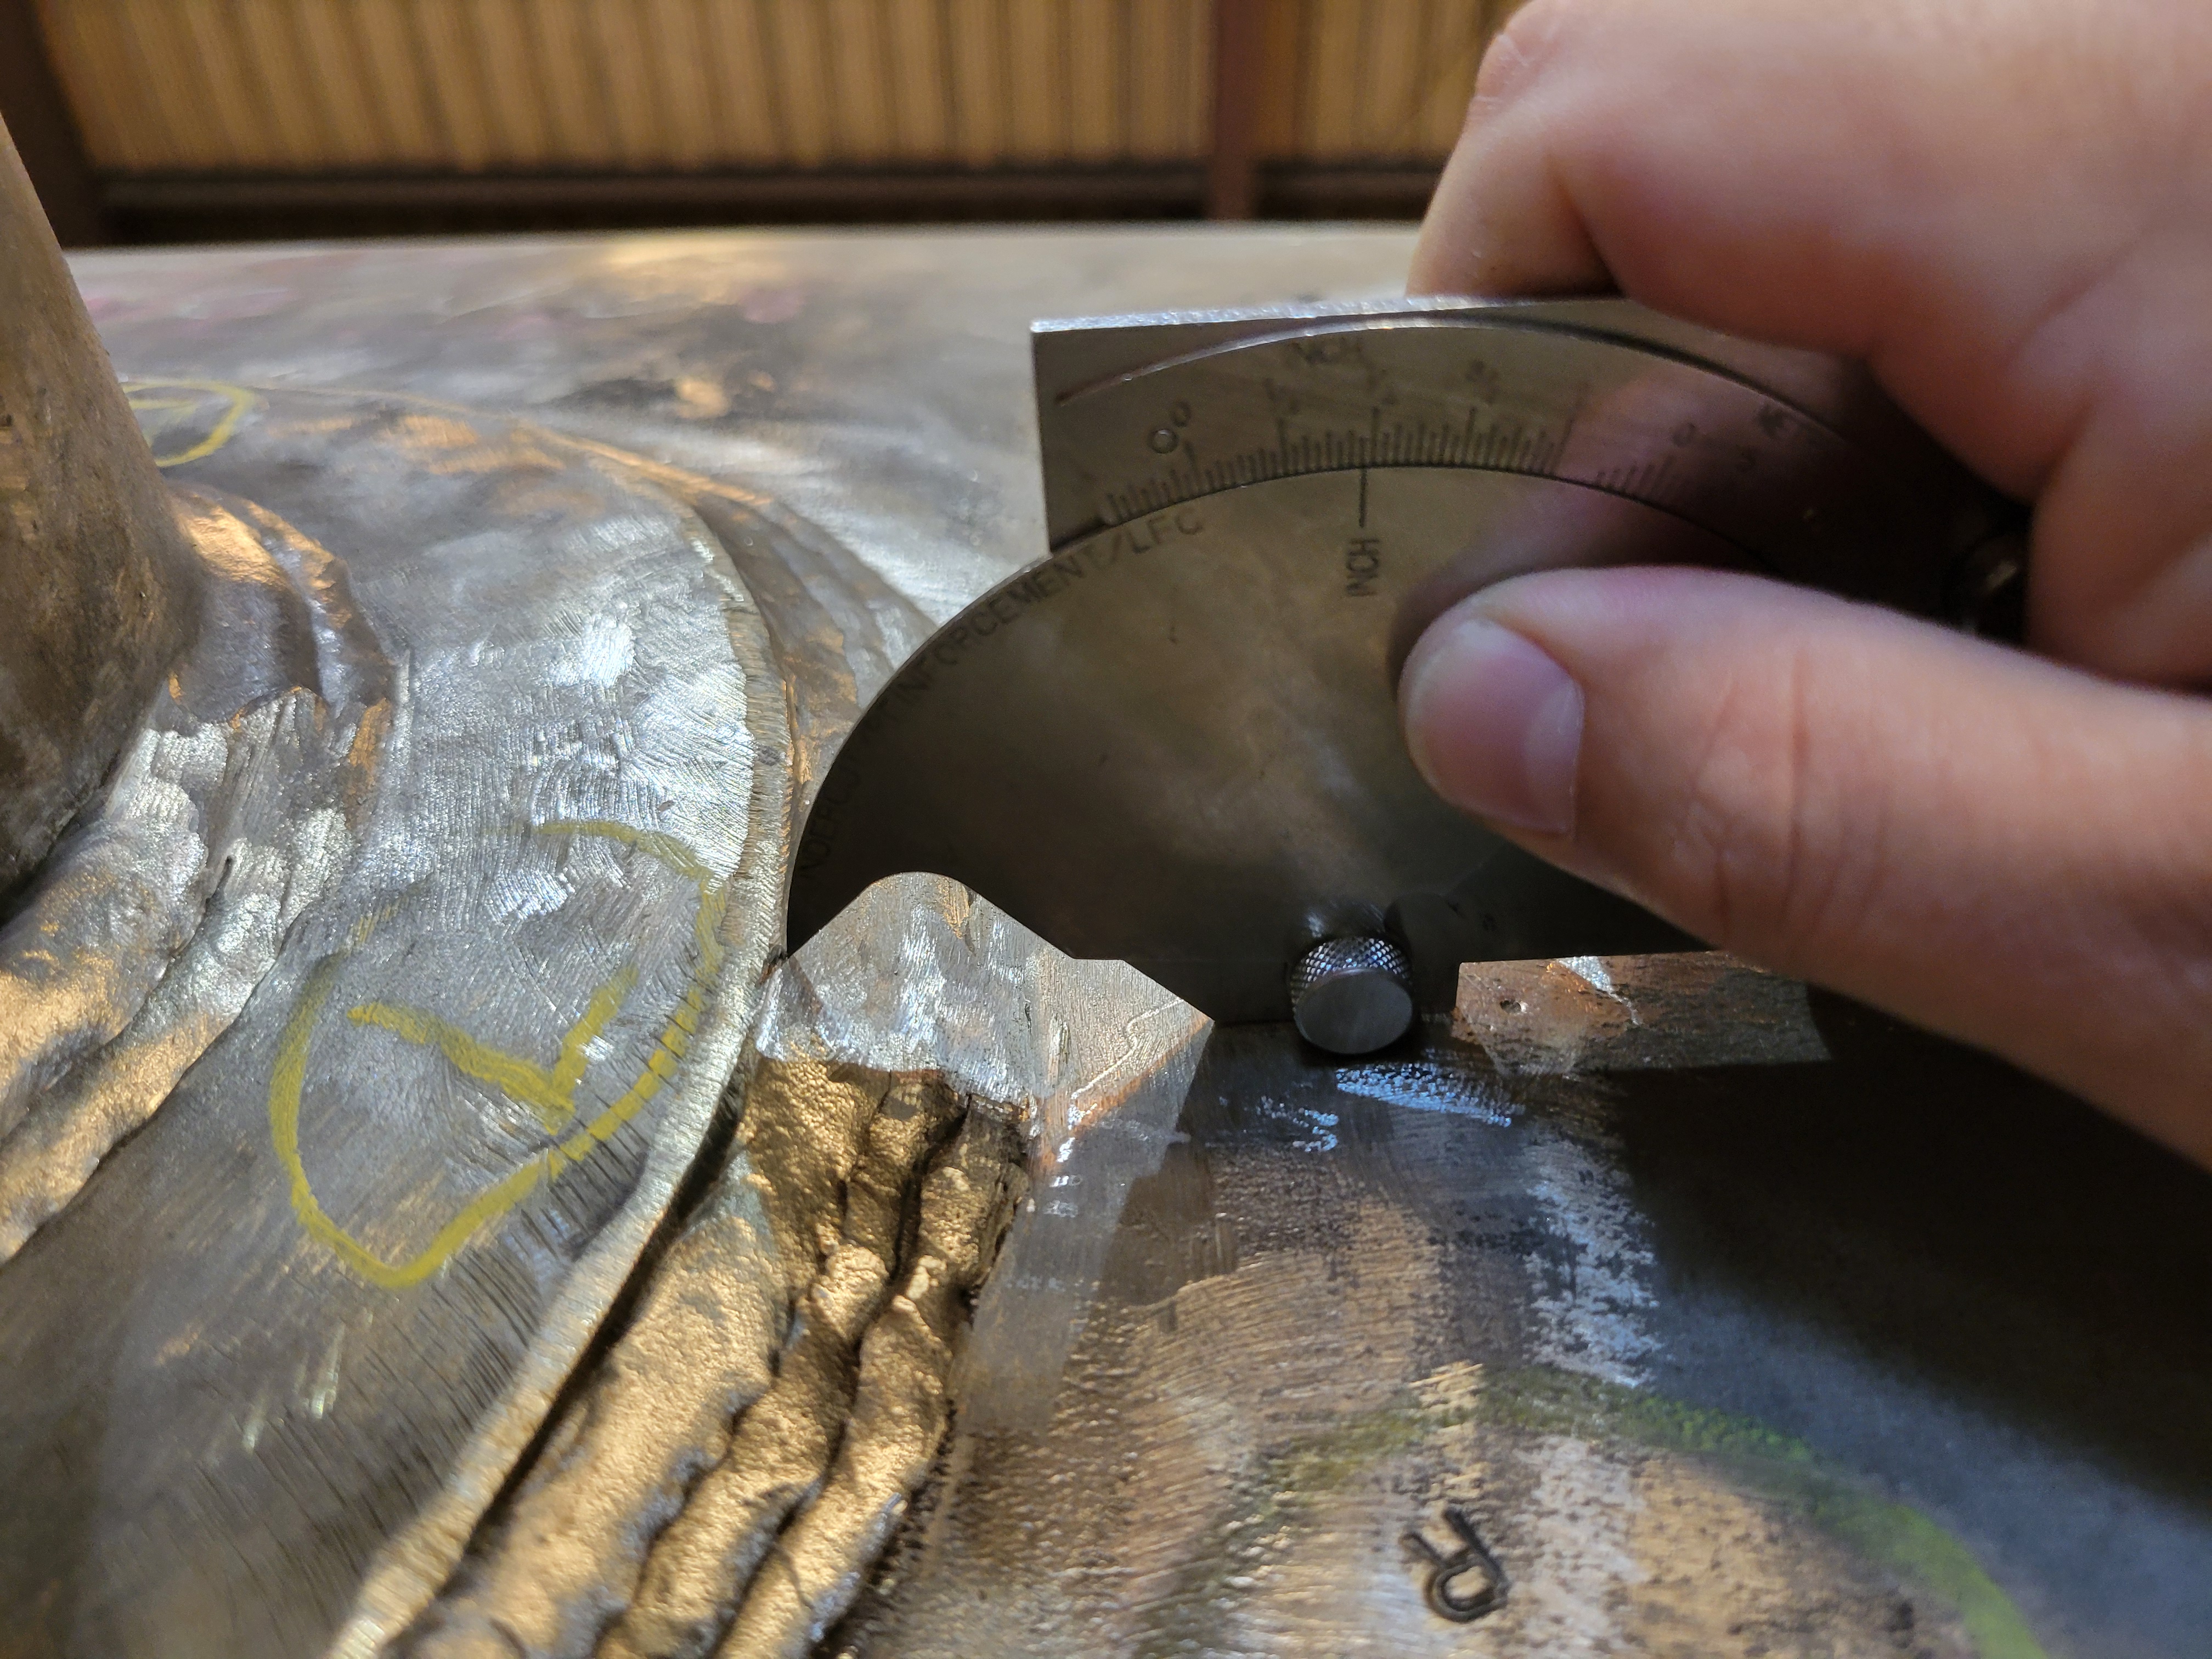
During a routine visual inspection, a fillet weld was checked using a fillet weld gauge. At first glance, the weld appeared undersized and could easily have been identified as a reject.
The initial gauge reading suggested the weld did not achieve the required leg size.
What We Observed
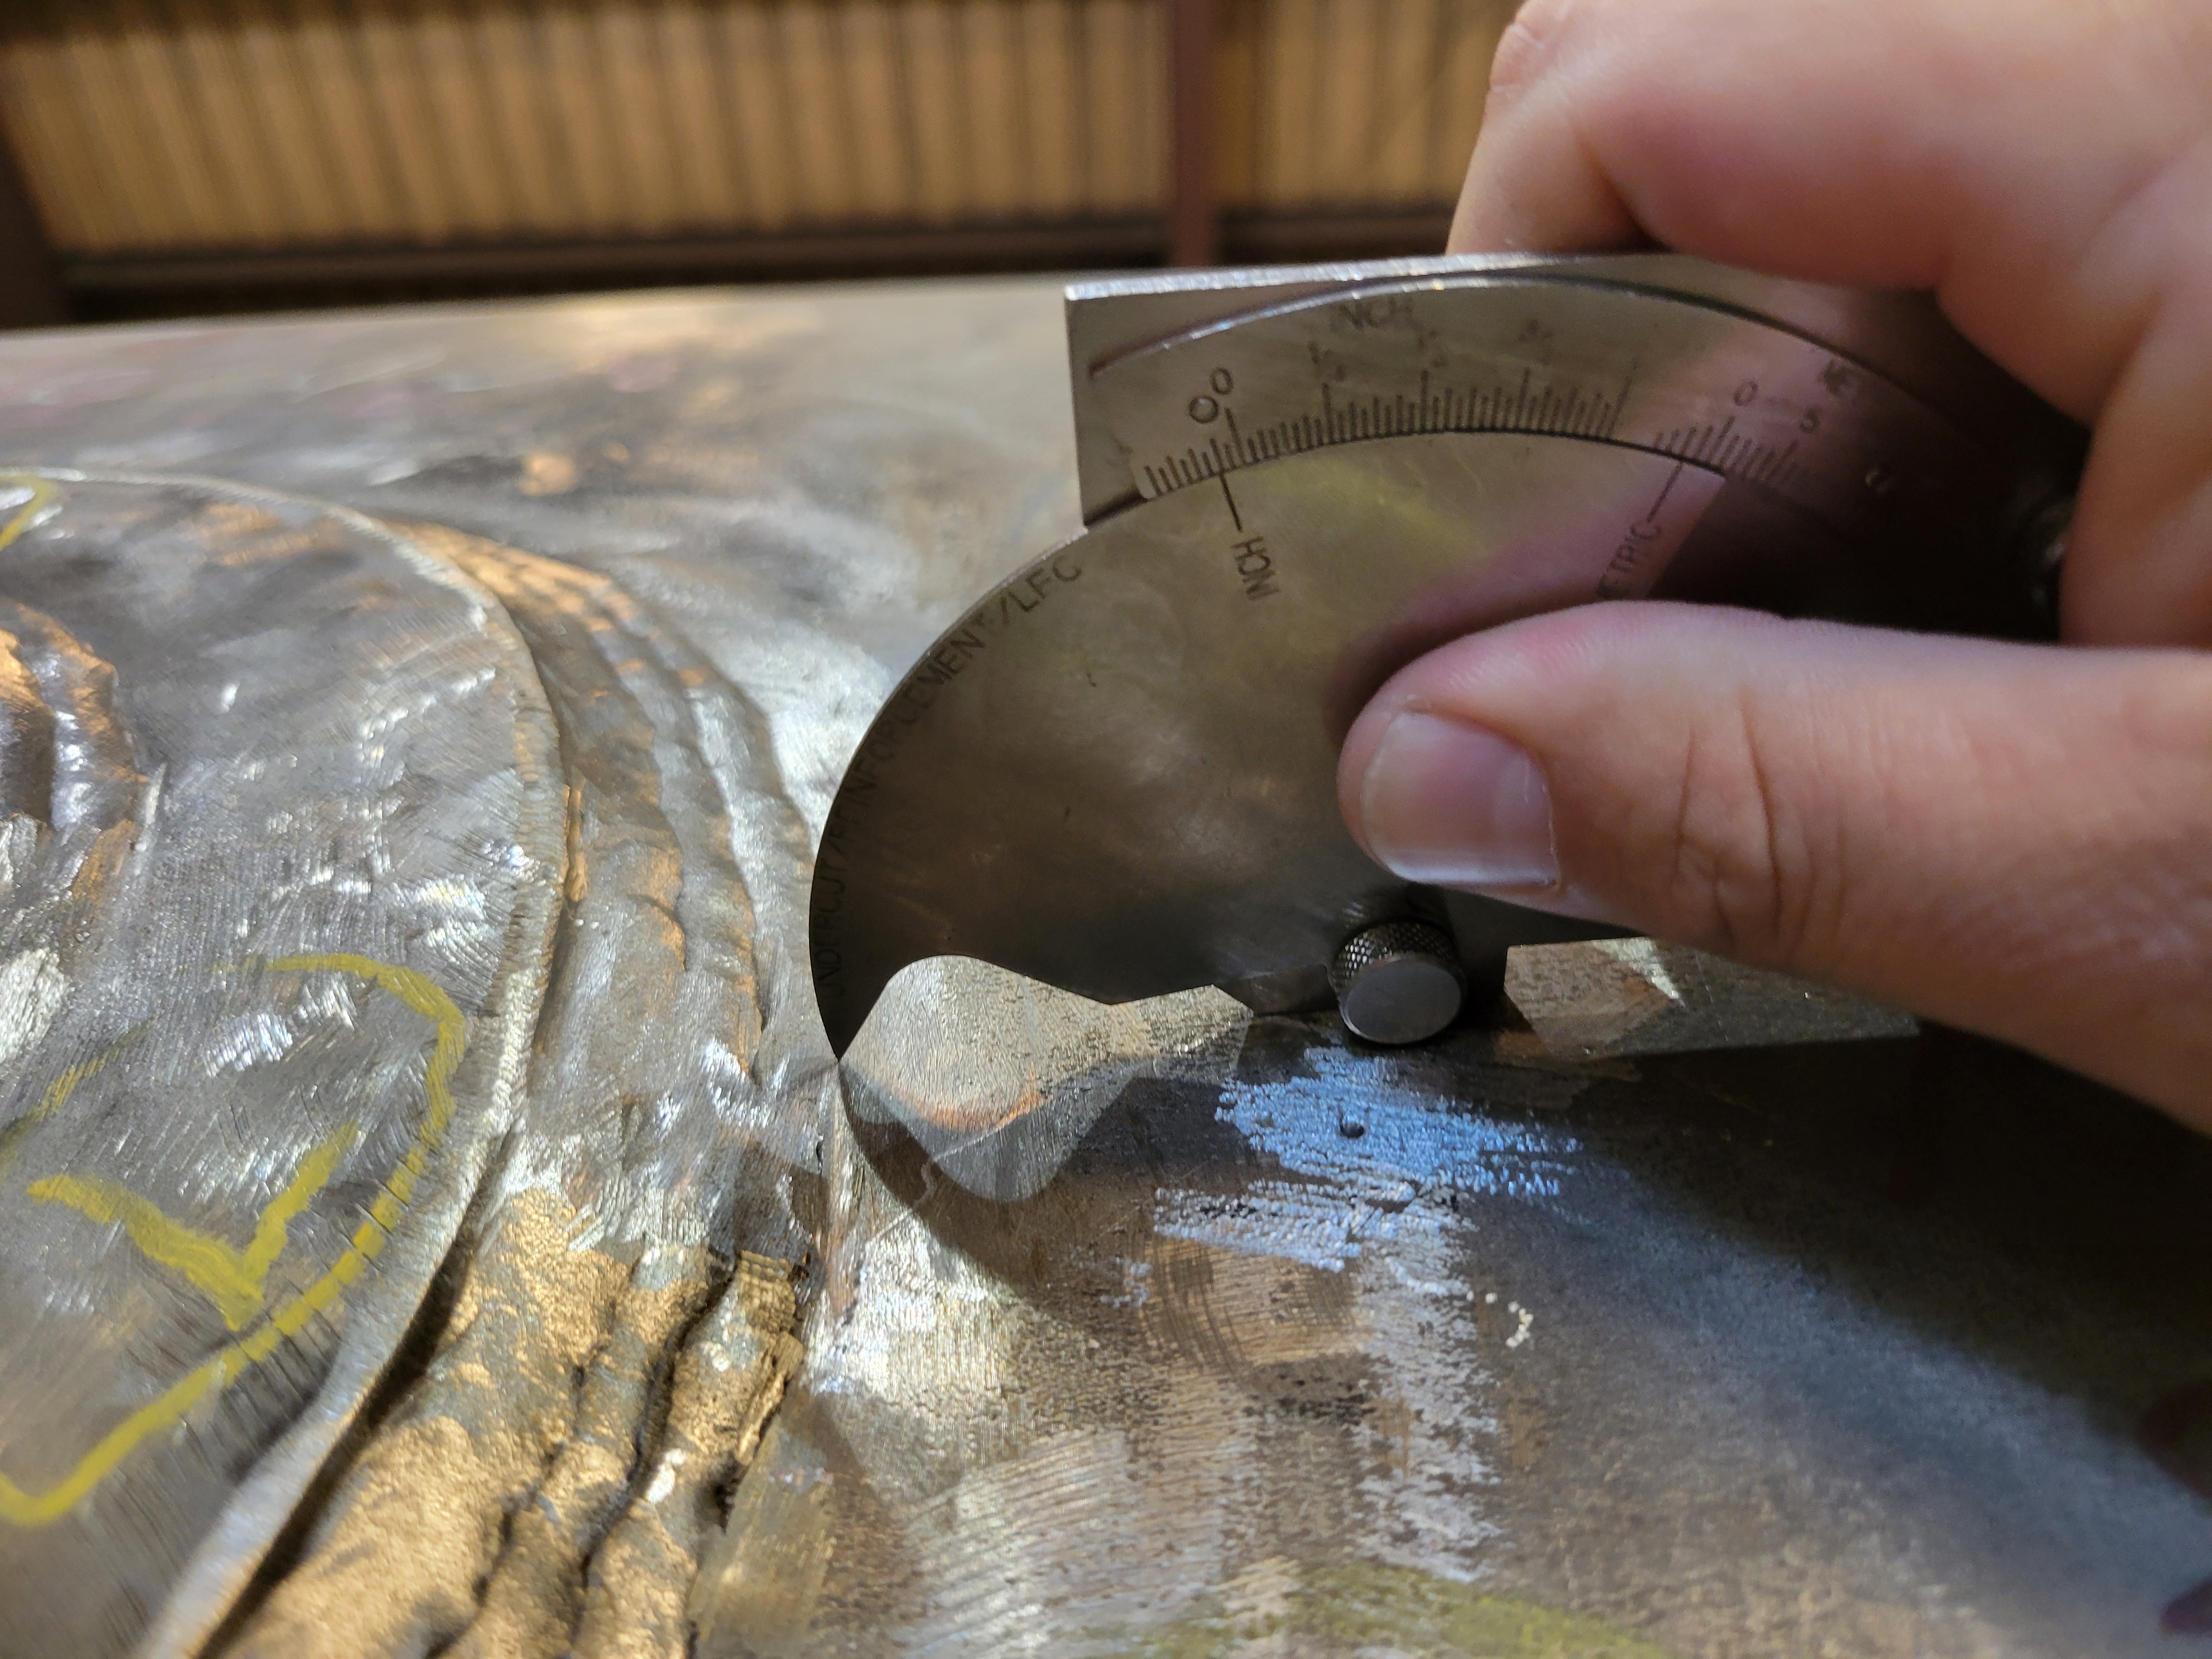
The observed distortion adjacent to the weld was consistent with the weld contracting while cooling. That geometry affected how the gauge sat against the joint and called the initial reading into question. The photographs alone do not establish the final weld size.
The gauge was providing useful information, but the result could not be interpreted correctly without understanding the condition of the surrounding material.
Why It Appeared Incorrect
Many inspectors rely heavily on weld gauges when verifying fillet weld size. While gauges are valuable tools, their readings must be evaluated against the joint configuration and governing requirements. Refer unresolved geometry or acceptance questions to the responsible qualified authority.
Several factors can influence gauge readings:
- Joint geometry
- Base metal distortion
- Surface irregularities
- Weld profile
- Gauge positioning
- Adjacent material conditions
- When any of these factors are present, the inspector must evaluate the complete condition rather than relying solely on a single measurement.
The Lesson
Inspection is not simply reading a gauge.
Inspection requires understanding what is being measured and why.
A gauge provides data, but the inspector must interpret that data within the context of the weld, the joint configuration, and the applicable acceptance criteria.
The initial reading required further evaluation before a disposition could be justified. This example does not establish that the weld was acceptable: that conclusion requires the specified size, reliable measurements, the applicable criteria, and a documented disposition.
Key Takeaways
- Confirm gauge placement and joint geometry, and investigate readings that conflict with the observed condition.
- Evaluate the entire joint condition.
- Consider distortion and base metal geometry.
- Verify proper gauge placement.
- Understand the acceptance criteria before making a determination.
- Experience and judgment remain essential inspection tools.